Getting Started Guide
Introduction
Welcome to the Everbridge Suite API Getting Started Guide. In this guide you will learn how to
- Create an OAuth service account
- Create the accompanying API User
- Learn how to execute an API request
The Everbridge Suite REST APIs currently only support the Password grant type for OAuth 2.0. As such you will need to create two sets of credentials for authenticating
- Username & Password
- Client ID & Client Secret
The Safety Device APIs currently only support the Client Credential grant type for OAuth 2.0. As such you will need only one set of credentials which will be delivered to you via your account manager upon enablement
Create a Service Account
Service Account Client Credentials can be created and managed at the Account and the Organization level by their respective administrators. We currently allow 5 accounts created at the account level and 5 accounts at each Organization level.
Service Account creation
-
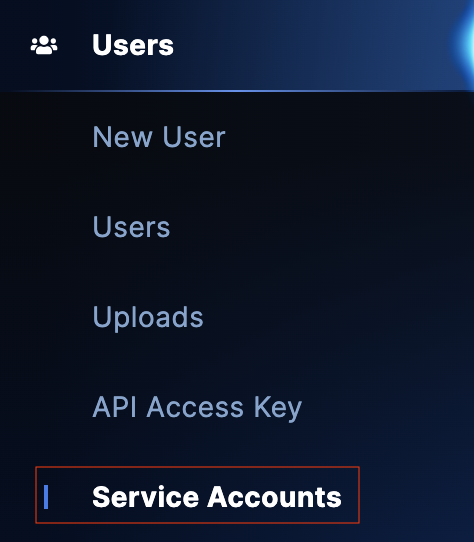
In the Everbridge Manager Portal, navigate to either
- Users → Service Accounts from the Account level
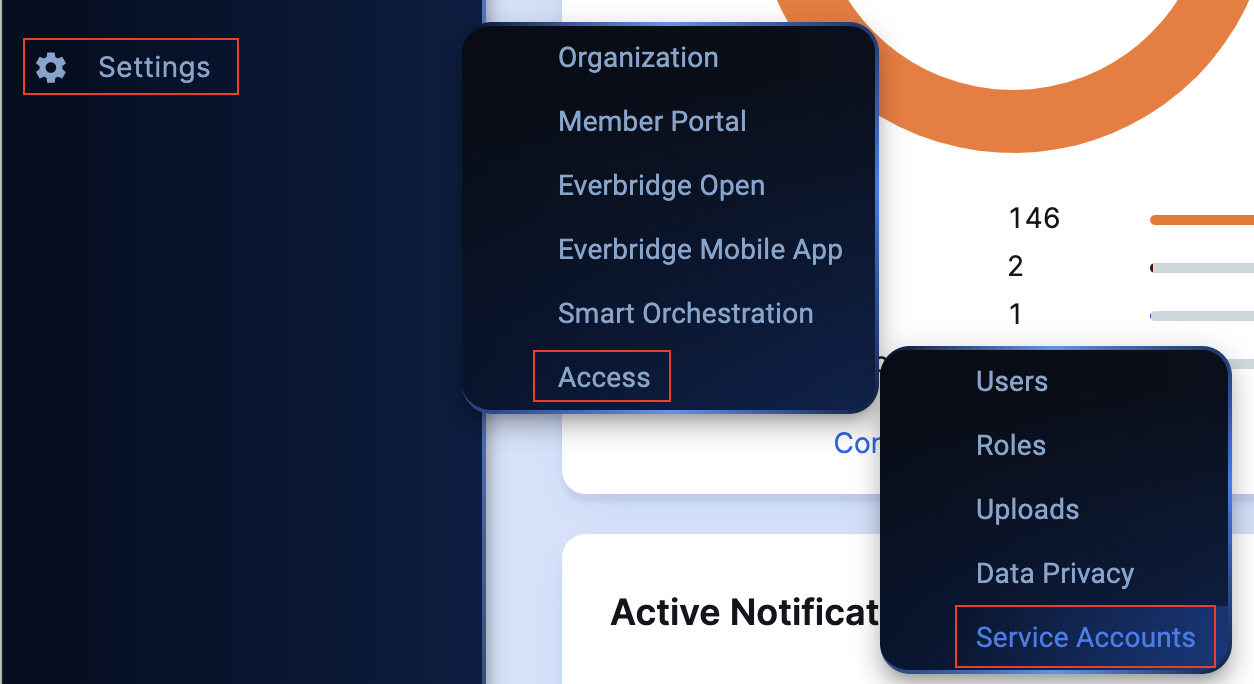
- Settings → Access →Service Account from the Organization level
Service Accounts not visible?
If you do not see the "Service Accounts" menu item, contact support to enable OAuth.
*Note: There is NO Additional Charge to use this method of API Authentication
-
Press the Create Service Account button located in the top left corner of the screen

-
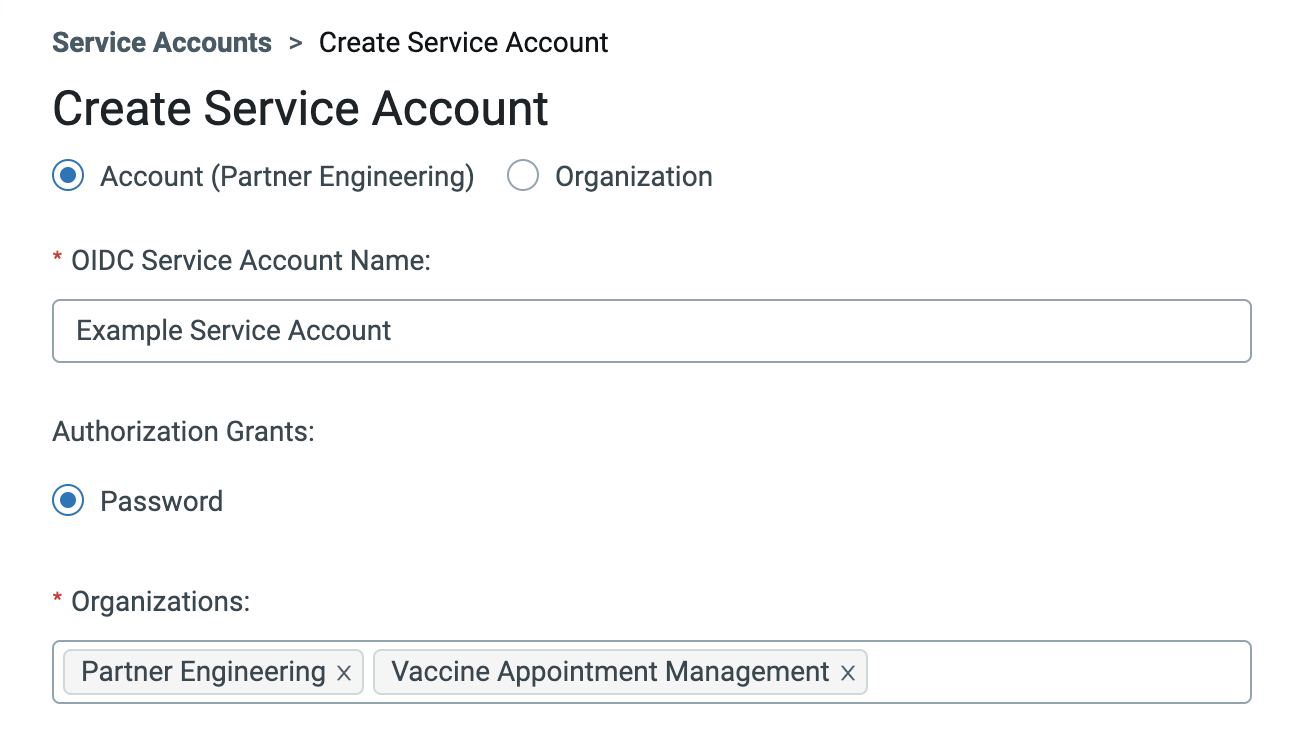
Select from the radio button options if you are creating an Account or Organization level Service Account
-
Enter the Account Name and select the organization(s) this account will be allowed to access.
-
Click Save
-
-
You will then be redirected to the View Service Account screen where you can
- Retrieve your Client Id
- View & Retrieve you Client Secret
- Regenerate you Client Secret in the event of a security concern
- View instructions on how to Create the accompanying API User
Multiple Service Accounts?
A good rule of thumb is to create separate service account for each integration within the specific organization you are integrating against, unless the APIs are Account level APIs as are the case with User and Audit Log APIs.
Creating API user
Create a User in Manager Portal
You can use your existing user for testing purposes but it is highly recommended that your production deployment has its own set of credentials. When giving your user a role, it is recommended to make them either an Account admin or an Organization Admin. They may NOT have more than one role.Login to the Manager Portal as an Account Admin and go to USERS!
- Navigate to the users tab

- Create a user.
- Enter a first and last name.
- Enter an Email Address.
- Add either Account Admin or Organization Admin as the role.
- Save.
Invite User to Sign-up
- Sort by Last Modified Date.
- Click the envelope icon to send an invitation to register.

Register a User Account
- Check your email, you should have an invitation from Everbridge with a link to create your username and password. Click on the link in the email.

- Create your username
- Create your password.
- Click Continue.

Enable API Access for Your User
There are multiple ways to enable API access for your users:
1. Using Manager Portal (Account level)
- Log in to the Everbridge Manager Portal and select Users from the top menu bar.
- Edit the user by clicking on the pencil icon next to their name.
- Slide the API Access button to the right.

2. Using API
POST /users
{
   "apiAccess":true
}
3. User Upload
When users are uploaded, API access can also be enabled or disabled in the CSV file under the API Access header:

Making API Calls
1. Get Your Organization ID
If you are logged in as an account admin, select an organization from the top right of the page.

- Make sure the desired organization is selected.
- Hover over Settings.
- Click Organization in the drop down.
- Click the Organization drop down to the left of the page.
- Click Base Information.
- Copy your Organization ID.

2. Authenticate
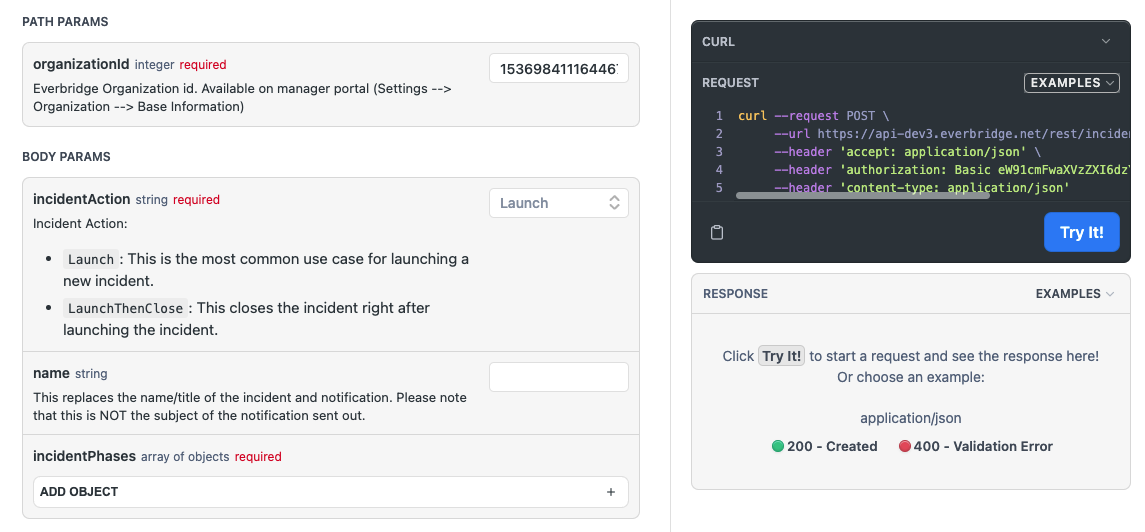
3. Make an API Call Using this Developer Portal
- Click on API Reference on the navigation bar
- Enter your Authentication options
- Pick up an existing sample from the request section
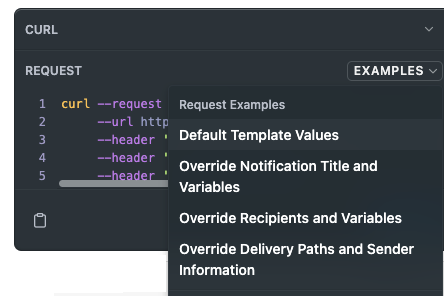
-
- Update organizationId and other parameters from the request path and body
4. Make an API Call Using Swagger
Go to the Swagger interface of the Everbridge API: https://api.everbridge.net/.
For this example, we will look at the /contacts API to show you how to retrieve contact information.

- Select the /contacts grouping.
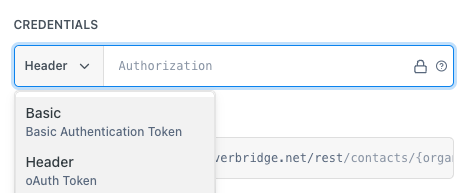
- Enter your encoded credentials.
- Enter your Organization ID.

- Click Execute.

A successful API call will return code 200 and will show "OK" in the response body.

5. Export the OpenAPI spec
This option would be to execute your API requests from another application such as Postman.
- Simply select the OAS file you wish to download from the list hosed here.
- Copy the JSON data and save it in your application's preferred format
Common Questions
1. Will my API password expire?
This depends on how the security configurations are set up for your account. Please reach out to your account manager to confirm.
2. Can my API user have more than one role?
Generally speaking, it is NOT recommended. There is a specific workaround by passing the roleId in the header of the authentication request.
3. What are API best practices?
- Create a unique user for each of your integrations.
- Never user your API user to log into the Manager Portal.
- Use a good naming convention for your API user:
- First Name: DO_NOT_DELETE
- Last Name: APIUSER[INTEGRATION_NAME]
- Username: APIUSER[INTEGRATION_NAME]
- Email: A group email that is associated with the integration
Updated 12 days ago